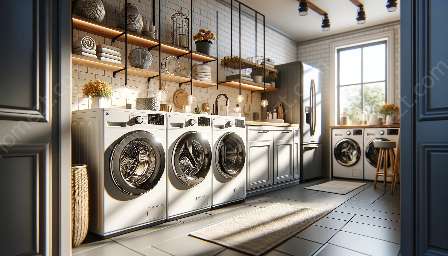
Welcome to our complete guide to washing machine installation. Whether you're a first-time homeowner or simply looking to upgrade your existing appliance, knowing how to install a washing machine correctly is crucial. In this guide, we'll cover everything from preparing the space for installation to connecting the necessary plumbing and electrical components.
Planning for Installation
Before you start the installation process, it's essential to gather the necessary tools and materials. You'll likely need:
- Washing machine installation manual
- Tape measure
- Adjustable wrench
- Level
- Bucket
- Plumbing wrench
- Plumbing tape
- Water supply hoses
- Waste hose
- Electrical cord or outlet
Make sure to read the manufacturer's instructions carefully and familiarize yourself with the specific requirements for your washing machine model.
Preparing the Space
Before you begin the installation process, clear the area where the washing machine will be placed. Ensure that the floor is level, sturdy, and clean. If your washing machine will be located on a different floor from your laundry room, verify the structural integrity of the floor to support the weight of the appliance and the laundry water load.
Next, measure the space and ensure that it can accommodate the dimensions of your washing machine. Check for adequate clearance around the appliance for ventilation and easy access for maintenance. If installing the washing machine in a confined space, such as a closet, ensure there is enough space for proper airflow to prevent overheating.
Plumbing Installation
Connecting the washing machine to the plumbing is a critical step in the installation process. Follow these steps:
- Attach the water supply hoses to the washing machine's water inlet valves, ensuring a secure connection. Use a plumbing wrench to tighten the fittings, being careful to avoid over-tightening, which can cause damage.
- Connect the other ends of the water supply hoses to the corresponding hot and cold water supply lines. Use plumbing tape to seal the connections and prevent leaks.
- Position the waste hose in a suitable drainage point, such as a standpipe or laundry sink. Ensure that the hose is secure and free from kinks to prevent drainage issues.
Electrical Connection
If your washing machine requires an electrical connection, follow these guidelines:
- If an electrical outlet is available nearby, make sure it is grounded and meets the voltage and current requirements of your washing machine.
- Alternatively, if the washing machine requires a hardwired connection, consult a qualified electrician to ensure the proper installation of the electrical wiring.
Once the necessary connections are in place, carefully move the washing machine into its final position, ensuring that it is level and stable. Use a level to confirm that the appliance is balanced on all sides to prevent excessive vibration during operation.
Testing and Troubleshooting
After completing the installation, perform a test wash cycle to ensure that the washing machine functions properly. Observe the appliance for any leaks, unusual noises, or performance issues. If any problems arise, refer to the manufacturer's troubleshooting guide or consult a professional technician for assistance.
Conclusion
Proper washing machine installation is essential for the efficient and safe operation of your appliance. By following the steps outlined in this guide and adhering to the manufacturer's instructions, you can enjoy hassle-free laundry days with your newly installed washing machine.


