Lighting can transform the look and feel of any room in your home. Whether you're upgrading your lighting fixtures for style or functionality, it's essential to know the proper installation techniques. In this comprehensive guide, we'll explore everything you need to know about light fixture installation, including step-by-step instructions and practical tips for handymen and domestic services.
The Importance of Proper Lighting
Good lighting is crucial for creating a comfortable and functional living space. From ambient and task lighting to accenting specific areas, the right light fixtures can enhance the ambiance of any room. Whether you're looking to install ceiling lights, wall sconces, or pendant lights, proper installation is key to achieving the desired effect.
Understanding Different Types of Light Fixtures
Before diving into the installation process, it's essential to understand the different types of light fixtures available. From chandeliers and track lighting to recessed lighting and flush mounts, each type of fixture requires specific installation techniques. Handymen and domestic service providers should familiarize themselves with the various fixtures and their installation requirements.
Step-by-Step Guide for Light Fixture Installation
Here's a comprehensive step-by-step guide for installing a light fixture:
- Turn off the Power: Safety should always be the top priority when working with electrical fixtures. Before starting the installation, turn off the power to the circuit you’ll be working on.
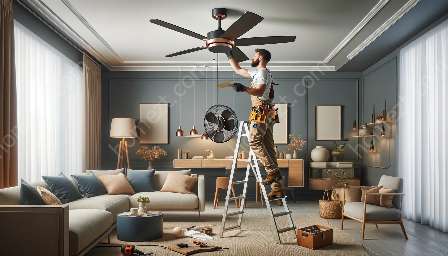
- Prepare the Workspace: Clear the area where you'll be installing the new fixture. Use a stable stepladder if the fixture is on the ceiling.
- Remove the Old Fixture: If you're replacing an existing fixture, carefully remove it, following the manufacturer's instructions. Disconnect the wiring and remove the mounting bracket.
- Install the Mounting Bracket: Follow the manufacturer's instructions to install the new mounting bracket. Make sure it's secure and level.
- Connect the Wiring: Match the wires from the new fixture to the existing wires in the electrical box. Use wire connectors to secure the connections.
- Attach the Fixture: Gently lift the fixture and align it with the mounting bracket. Secure it in place according to the manufacturer's instructions.
- Finishing Touches: Install the light bulbs, shades, or any additional accessories that come with the fixture. Turn the power back on and test the new installation.
Tools and Materials
When it comes to light fixture installation, having the right tools and materials is essential for a successful outcome. Handymen and domestic service providers should have a toolkit that includes wire cutters, wire connectors, a voltage tester, a screwdriver set, pliers, and a sturdy stepladder. Additionally, it's crucial to have the appropriate screws, wire nuts, and mounting hardware for the specific fixture being installed.
When to Seek Professional Help
While some homeowners may feel confident in their DIY skills, there are instances where it's best to seek professional help. Complicated wiring, unusual ceiling conditions, or the need for extensive electrical work may warrant the expertise of a licensed electrician. Furthermore, consulting with a professional can ensure that the installation is up to code and meets all safety requirements.
Conclusion
Light fixture installation is a rewarding upgrade that can enhance the aesthetics and functionality of any space. By following the step-by-step guide and understanding the importance of proper lighting, handymen and domestic service providers can offer valuable assistance to homeowners seeking to transform their living spaces. Whether it's a stylish pendant light in the dining room or a practical ceiling fan in the bedroom, the right light fixture can make a significant difference in any home.

