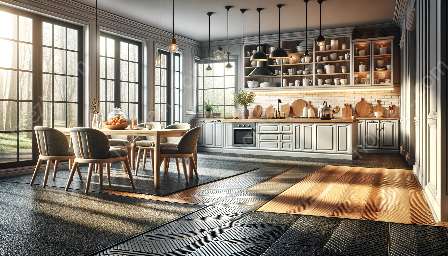
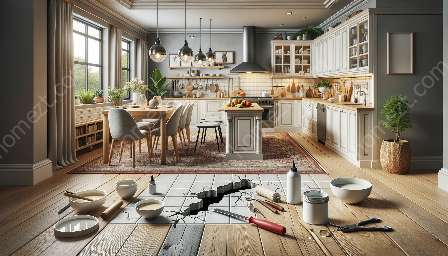
Kitchen flooring serves as the foundation of your cooking and dining space, offering both functional and aesthetic benefits. From hardwood to tile, choosing the right flooring material impacts the overall look and feel of your kitchen. DIY kitchen flooring installation allows you to customize your kitchen, saving costs and adding a personal touch to your home.
Choosing the right flooring material
When it comes to kitchen flooring, there are various options to consider. Hardwood, laminate, vinyl, tile, and concrete are popular choices due to their durability and aesthetic appeal.
- Hardwood: Known for its timeless appeal and warmth, hardwood flooring adds a natural and elegant touch to any kitchen. It's important to select a hardwood species that can withstand the moisture and traffic in a kitchen environment.
- Laminate: With its affordability and easy maintenance, laminate flooring mimics the look of hardwood or tile, providing a cost-effective option for DIY kitchen projects.
- Vinyl: Available in a wide range of styles and colors, vinyl flooring is moisture-resistant and durable, making it an ideal choice for kitchens. It is also easy to install, making it a popular option for DIY enthusiasts.
- Tile: Ceramic or porcelain tiles offer durability and a variety of design options, including different patterns and sizes. Choosing the right grout and underlayment is crucial for a successful DIY installation.
- Concrete: Polished concrete flooring provides a modern and industrial look, offering durability and low maintenance for kitchen areas.
Essential tools and materials
Before starting your DIY kitchen flooring installation, gather the necessary tools and materials to ensure a smooth process. Some essential items include:
- Measuring tape and pencil: Accurate measurements are crucial for a precise fit and a professional finish.
- Level and square: Ensuring the subfloor is level and square is vital for the longevity of your new kitchen flooring.
- Saw or cutting tool: Depending on the flooring material, you may need a saw or specialized cutting tool to fit the pieces properly.
- Underlayment and adhesive: Depending on the flooring type, underlayment and adhesive may be necessary to ensure stability and proper installation.
- Float and trowel: For tile and laminate installations, a float and trowel are essential for spreading adhesive and grout.
- Protective gear: Safety goggles, gloves, and knee pads are essential for protecting yourself during the installation process.
Step-by-step installation guide
While each flooring material may have specific installation requirements, there are common steps to follow for most DIY kitchen flooring projects:
- Prepare the subfloor: Ensure the subfloor is clean, level, and structurally sound. Address any issues, such as uneven areas or moisture concerns, before proceeding.
- Acclimate the flooring: Some materials, such as hardwood, may need to acclimate to the kitchen environment to minimize the risk of warping or expansion after installation.
- Measure and cut: Use accurate measurements and cutting tools to fit the flooring pieces, minimizing waste and ensuring a seamless fit.
- Install underlayment: For certain flooring types, such as laminate or vinyl, laying down underlayment can improve moisture resistance and reduce noise.
- Begin installation: Follow the manufacturer's instructions for your chosen flooring material, whether it involves interlocking planks, adhesive application, or tile placement.
- Finish the edges: Use finishing techniques, such as quarter-round molding or transition strips, to complete the perimeter of the flooring installation.
- Clean and maintain: Once the flooring is in place, follow recommended cleaning and maintenance practices to maximize its lifespan and visual appeal.
Enhancing your kitchen & dining area
DIY kitchen flooring installation not only transforms the look of your kitchen but also enhances the overall ambiance of your dining area. Whether you opt for a classic hardwood design, a contemporary tile pattern, or a resilient vinyl finish, your kitchen flooring can set the tone for your culinary space.
By taking the time to research the best materials, acquire the necessary tools, and follow a detailed installation guide, you can elevate your kitchen & dining experience while saving costs through a rewarding DIY project.


