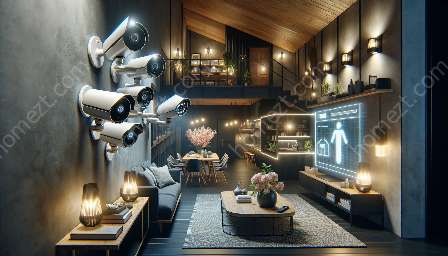
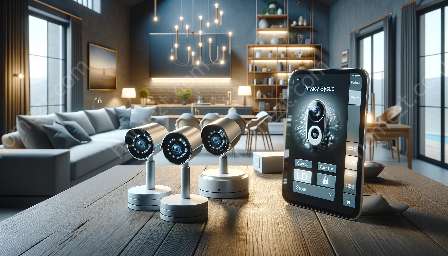
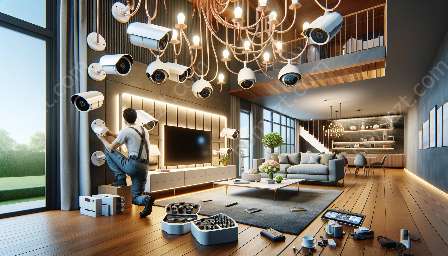
Are you considering installing a DIY home camera system to better protect your property? Adding a home camera system can provide increased security and peace of mind, allowing you to monitor your home even when you’re away. In this guide, we'll walk you through the step-by-step process of installing a DIY home camera system and offer advice on selecting the right system for your needs.
Selecting the Right Home Camera System
Before diving into the installation process, it’s essential to choose the right home camera system for your property. Consider factors such as the size of your home, desired camera features (e.g., night vision, motion detection, two-way audio), and whether you want a wired or wireless system. Additionally, research available brands and read user reviews to ensure you're investing in a reliable and high-quality system.
Gathering the Necessary Equipment
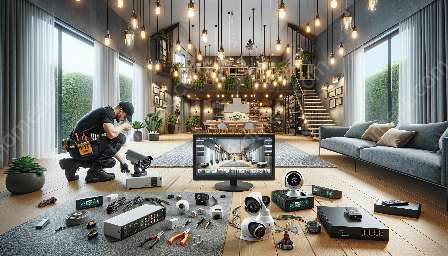
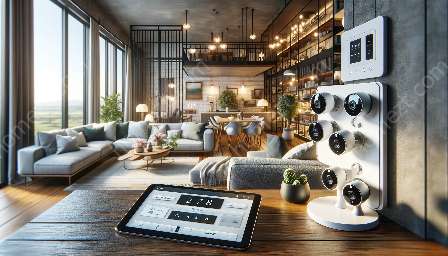
Once you've selected a home camera system, gather the necessary equipment for installation. This typically includes cameras, a digital video recorder (DVR) or network video recorder (NVR), power supplies, mounting brackets, cables, and any other accessories recommended by the manufacturer.
Planning Camera Placement
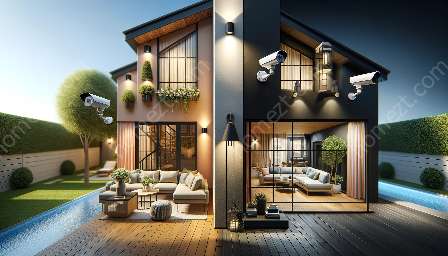
Before mounting your cameras, carefully plan their placement. Consider areas of vulnerability around your home, including entry points, garages, and backyard spaces. It’s also essential to ensure that your cameras cover key areas without invading your neighbors' privacy.
Installing the Cameras
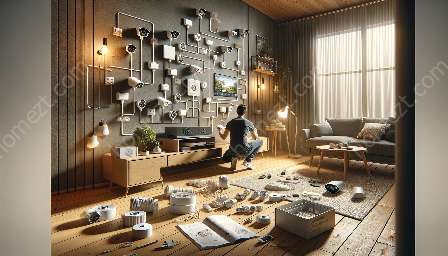
When installing your cameras, follow the manufacturer's instructions carefully. This may involve drilling holes for mounting brackets, running cables, adjusting camera angles, and connecting the cameras to the DVR or NVR. If you're using a wireless system, you'll need to pair the cameras with the recording device according to the provided instructions.
Connecting to a Monitoring Device
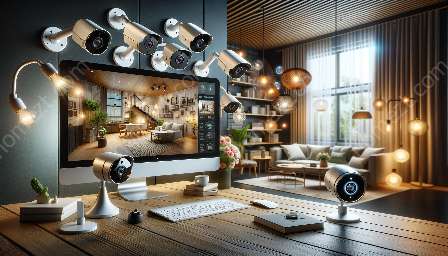
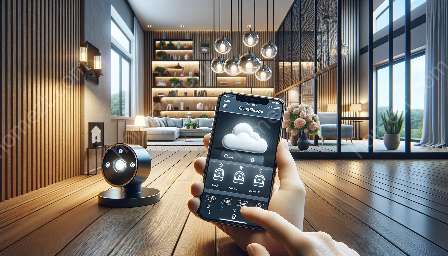
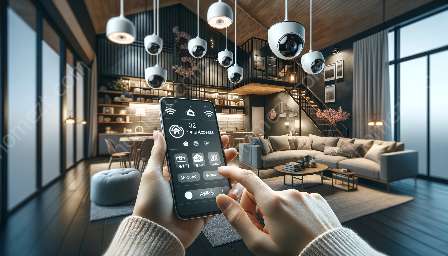
After installing the cameras, connect your home camera system to a monitoring device, such as a smartphone or computer. Many modern systems offer user-friendly apps that allow you to access live and recorded footage remotely. Follow the setup instructions provided with your system to ensure seamless connectivity.
Testing and Adjusting the System
Once your DIY home camera system is installed and connected, test each camera to ensure proper functionality. Adjust camera angles if needed to achieve optimal coverage and clarity. Familiarize yourself with the system's features, such as motion detection settings and notification alerts, to ensure that the system meets your security needs.
Maintaining and Upgrading the System
To keep your home camera system in optimal condition, perform regular maintenance, such as cleaning the lenses and checking for any loose connections. Additionally, stay informed about software updates and consider upgrading your system's components as technology advances to ensure ongoing security and performance.


